As a blogger and DIY enthusiast, I recently took the plunge and decided to cover my ugly granite countertops with Stone Coat Epoxy and a matte top coat. Although the final result turned out beautifully, the process was not without its mistakes. When we first moved in a year ago, I sanded down the cabinets and refinished them all. The countertops have been left untouched for the past year but I finally decided to pull the trigger and redo them. I spent hours researching the best options for updating them.
I originally thought I would try covering them in marble contact paper After buying several different options (and returning them) I tried it on a small coffee bar area. It certainly looked better than the granite but I felt you could tell it was contact paper so I finally decided to go with epoxy.
I had contemplated doing a white marble look but the more tutorials I watched, the more concerned I was that my perfectionism would leave me feeling frustrated with the finished project. My kitchen has a clean modern look with simple lines and minimal movement so I decided to do an all white countertop.
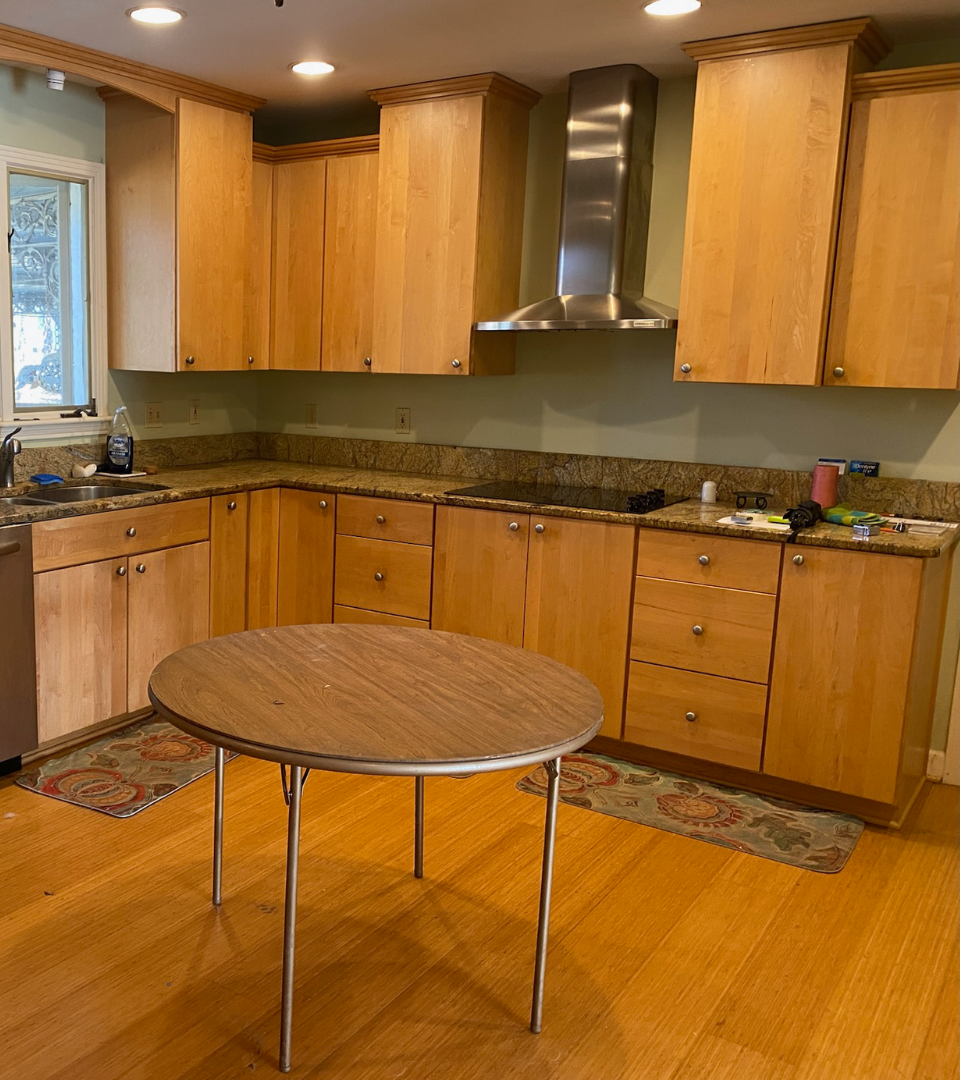
Original Kitchen prior to any Renovations
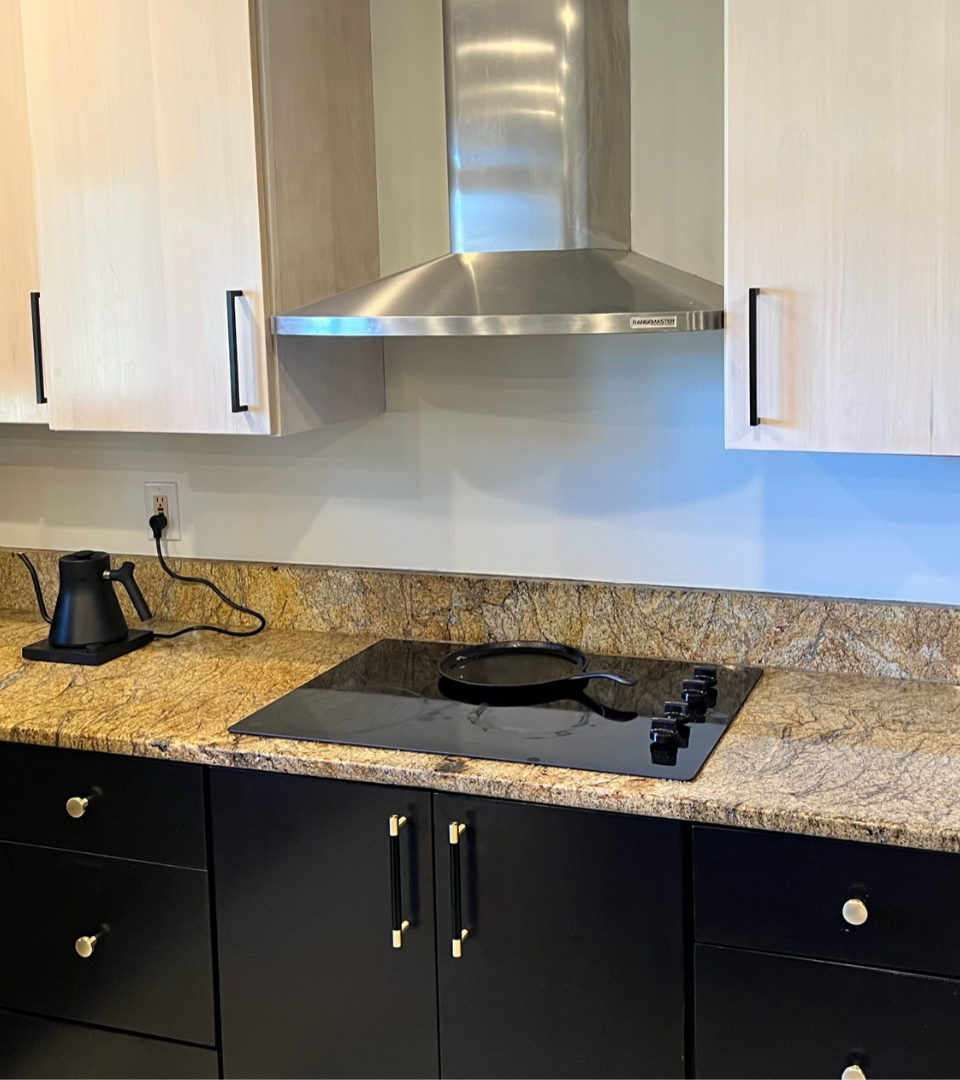
Painter lowers and White Stained uppers
Here are six mistakes I made along the way and what I learned from them.
1. Prep is Everything. You want to make sure every surface area has been cleaned and scraped down from any stuck on debris that might be likely to show through your finished project. After scraping down the surface with a window scraper, I came back and cleaned it one more time. There are a few little spots I wished I had been more thorough with. You do not want to rush this part of the process. Having a clean surface is key to success.
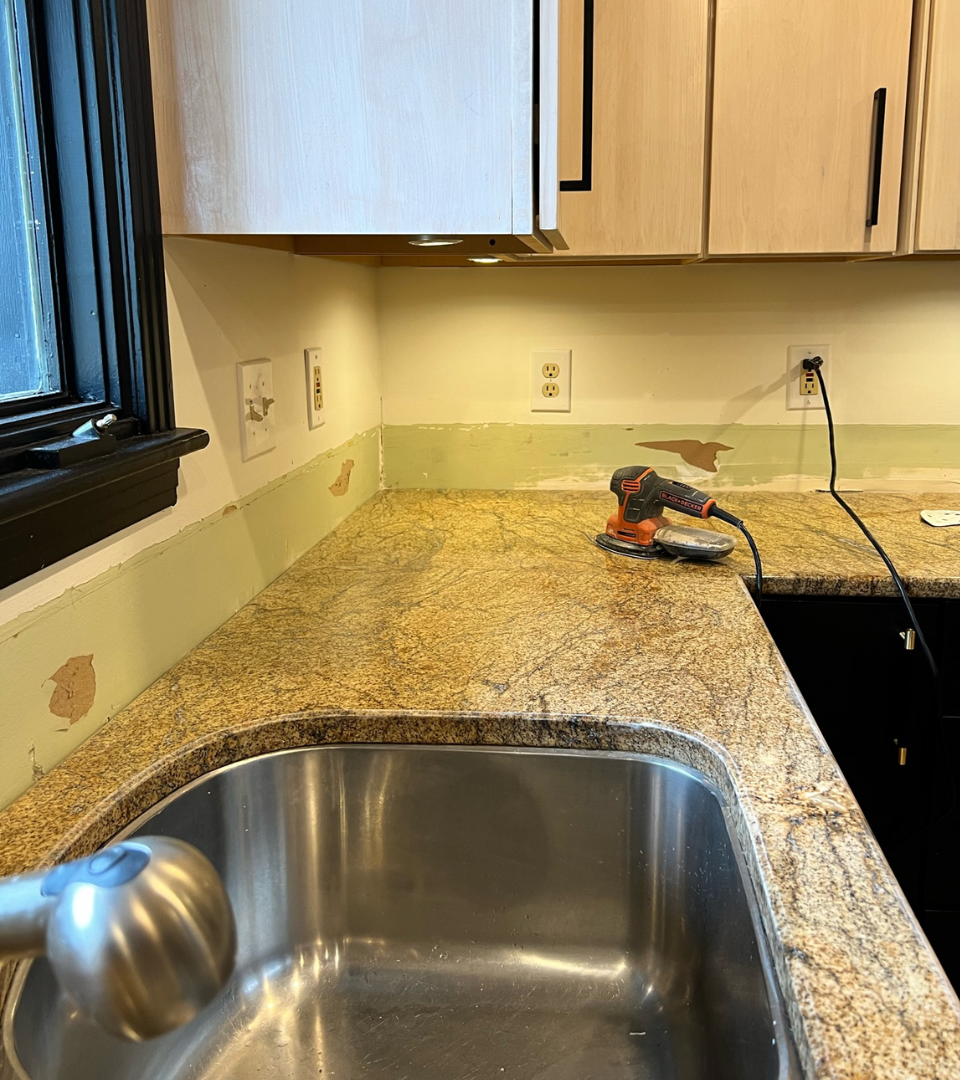
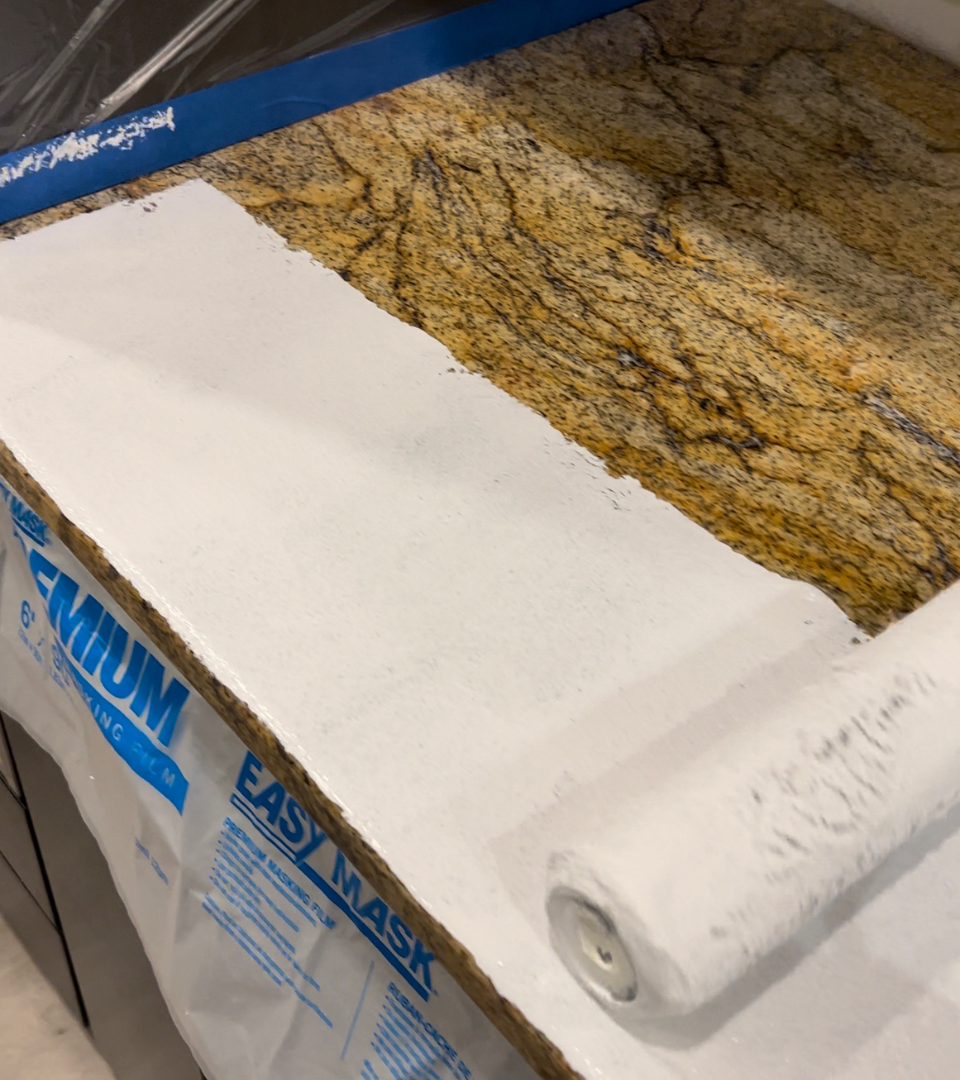
2. Have all the correct supplies before you start. I thought that I had everything I needed but should have double checked the supplies list before I began. I did not have enough sand paper so I don’t feel like I gave it enough of a sand. This is really important as you want to remove the surface of the granite that is the shiny smooth surface. This will allow the paint and epoxy to adhere securely. I went to my local hardware store and asked the clerk to help me find a 1/8 inch square trowel. What he gave me was a metal one that was made for carpet. The problem with this was when I started to use it to spread the epoxy the metal left little grey marks in a few spots on my new white counter top that are now sealed in the epoxy. Most people wouldn’t notice it unless they were really looking but I know it is there.
3. Make sure you do not rush the process of getting the air bubbles out of the epoxy. We started with a torch gun but it kept malfunctioning to we switched to a heat gun to remove bubbles. This seem to work much better but be careful not to get super close to the epoxy. We have 1 small spot where it discolored the epoxy because of the heat. It is very slight but again, I know it’s there and notice it every time I walk by. During the curing process, I noticed bubbles a few bubbles we missed appearing on the surface. I thought they would disappear on their own, but they did not. It is good to keep rechecking the surface from different angles and it wouldn’t hurt to have another set of eyes look with you.
4. Use enough matte top coat. I watched several tutorials but should have watched a few more! There is a part of the instructions that tells you to add a “small amount” of water. I didn’t fully understand why it was asking me to do this. The matte top coat is applied much different than the epoxy. You roll on a coat and then dry roll to remove any excess. My mix was a little too think so it was a bit goopy when it went on. When I dry rolled I think I pushed too hard and removed more than I should have. The instructions said it would even out as it cured but I ended up with some real inconsistencies in the texture and a few spots you can see the shiny epoxy peeping through. They tell you not to go back and mess with it once you have dry rolled it, but I did not take that advice and I really regret it. The spots where the texture are very uneven is the areas I went back and tried to “touch up” up the dry roller. What a mistake that was!
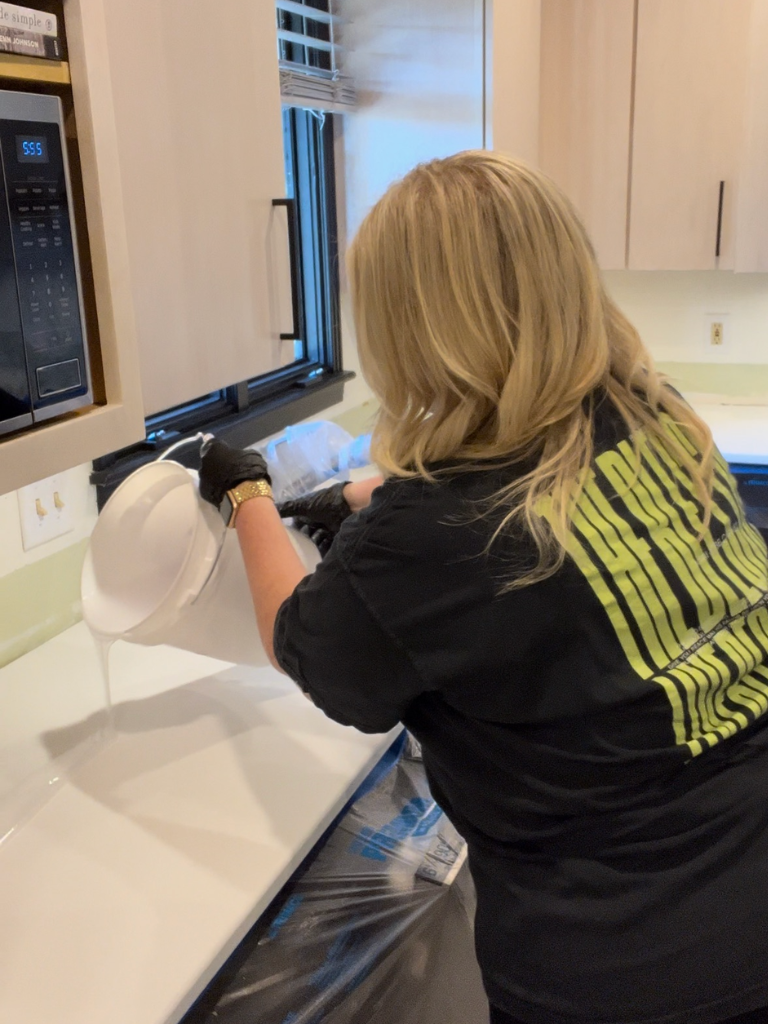
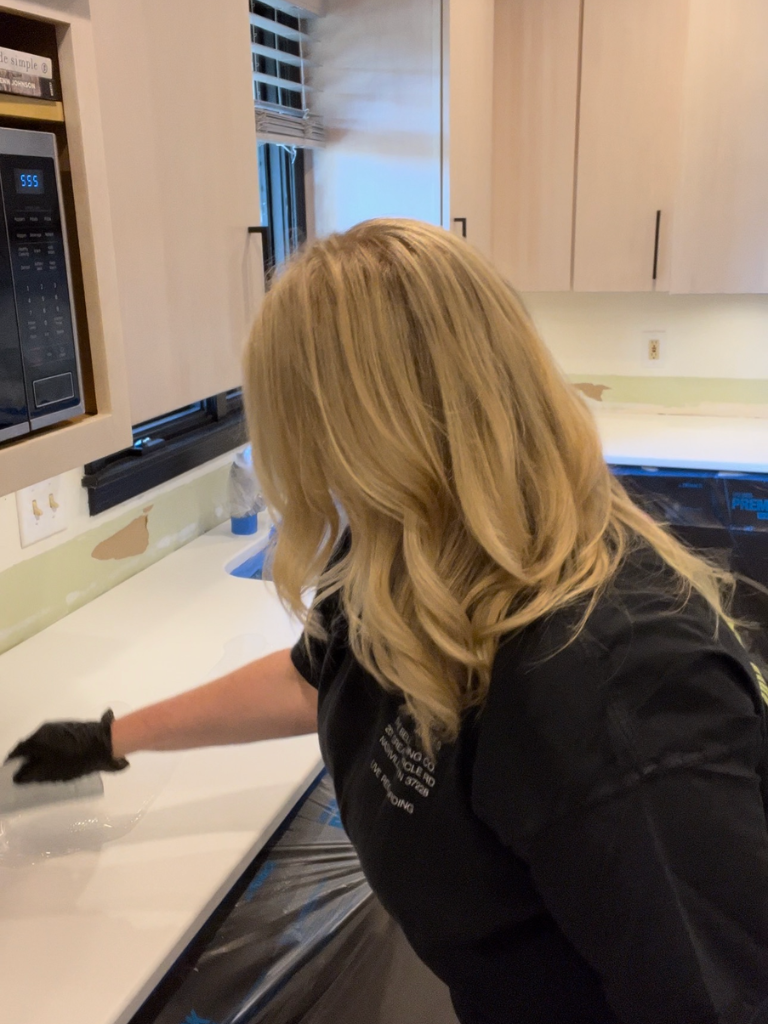
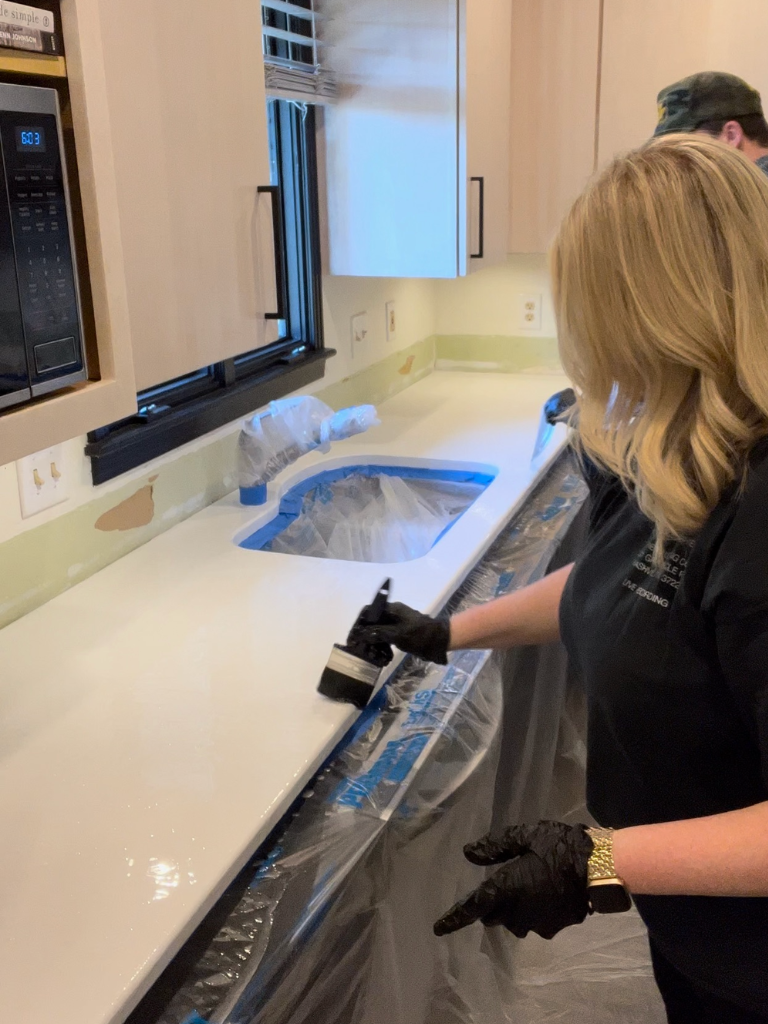
5. Have a friend lend a hand, you’ll need an extra set of hands and someone to encourage you. I started this project thinking I could do it by myself. While this project was not really difficult to do it took a lot of prep time. Once I mixed the epoxy, I felt a great sense of pressure to move quickly so it didn’t harden. You have 15-20 minutes to move it around. As I began I started to panic because I felt like I was running out of time. I finally called my husband in to help me. He spread the epoxy on and I came behind him and cut with the brush. In reality, we had plenty of time but I was convinced I wasn’t going to make it to the end without it hardening up. You can also cheat that a little with the heat gun because it helps liquify the epoxy while it is still drying.
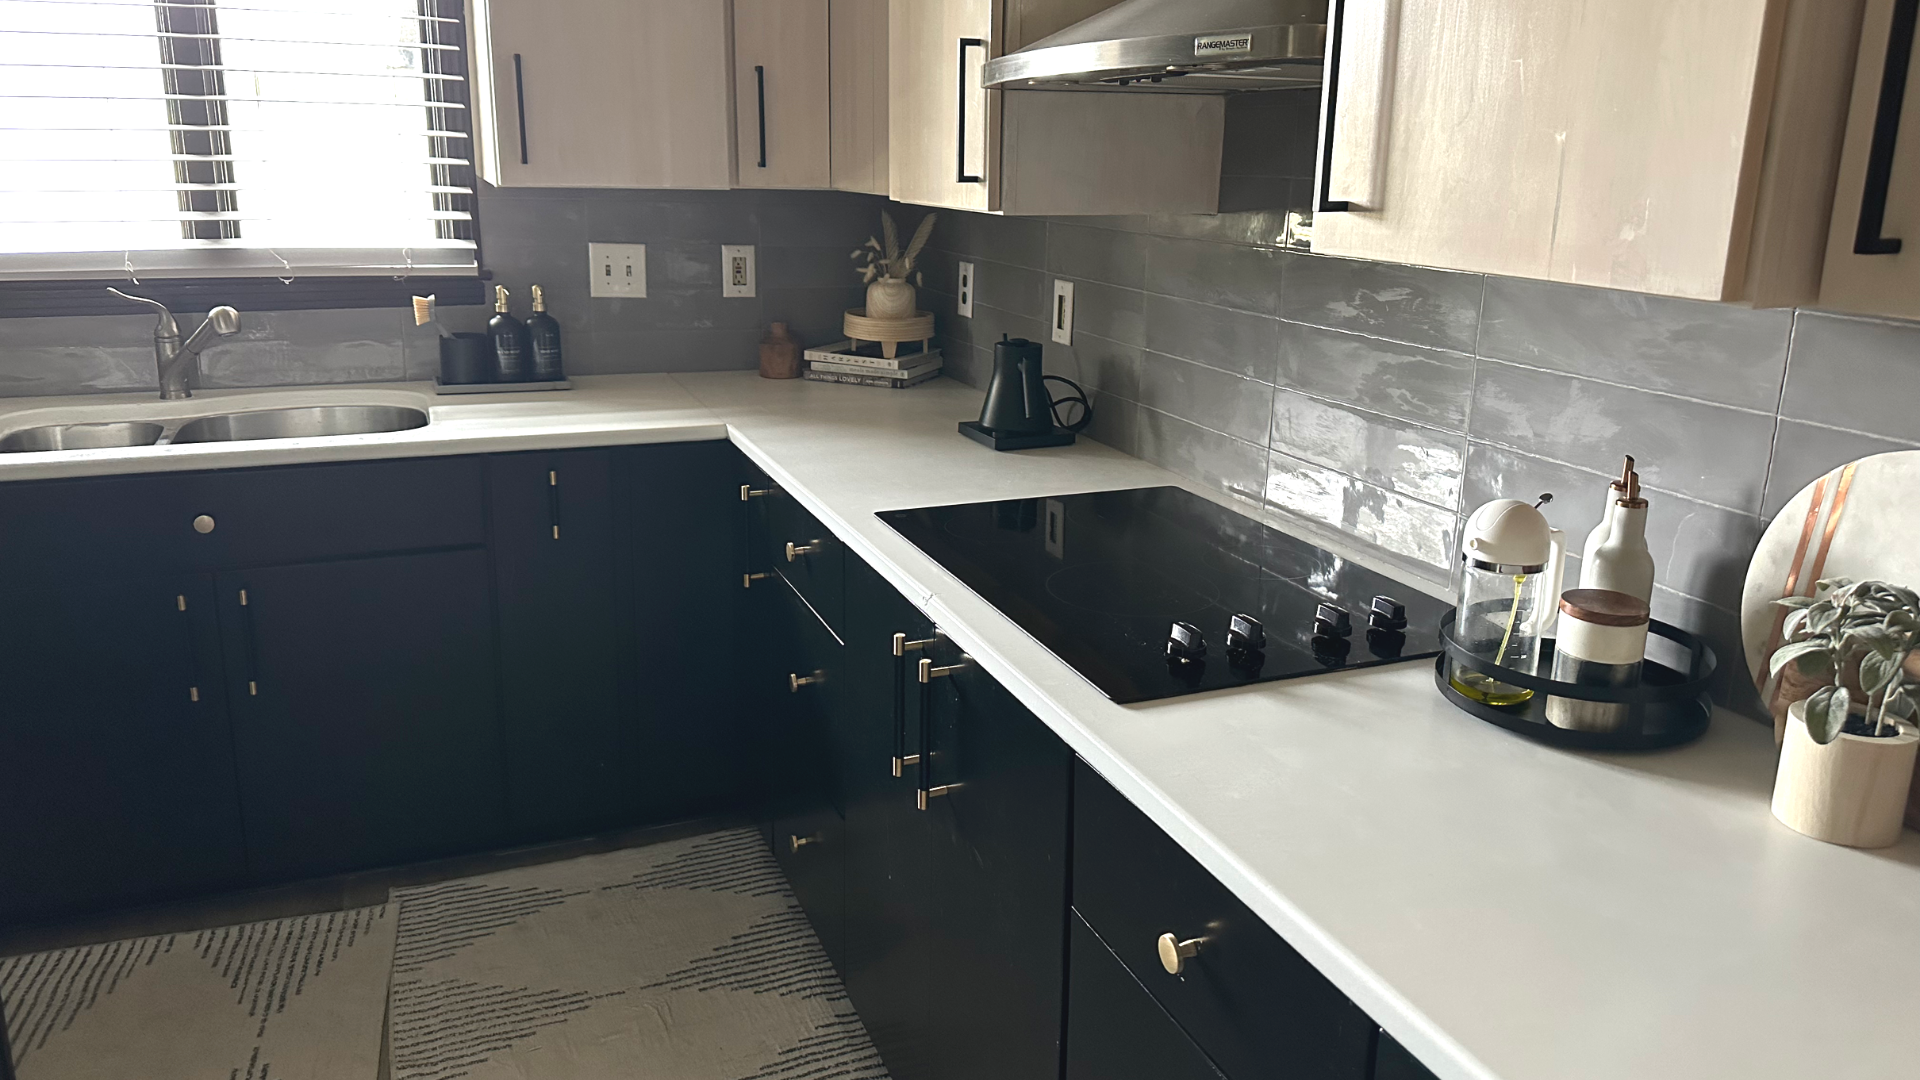
6. The last mistake I made was not doing this sooner. My kitchen looks so upgraded with the countertops done. We finished off the look by adding a backsplash to pull it all together.
In conclusion, covering granite countertops with stone coat epoxy and matte top coat is a great way to refresh and update your kitchen. By avoiding these common mistakes, you can ensure a flawless finish that will last for years to come. Our kitchen is truly unrecognizable from it’s original state and I am so glad that I took the plunge and transformed the space.
All the links and supplies I used are listed below. Please note I followed this video for instructions on how to properly apply the epoxy. I chose not to do the marbling effect since I wanted clean white look with my countertops.


