If you’re looking for a way to make your next dinner party or get-together extra special, why not try creating a stunning tablescape? Tablescapes can add an element of elegance and sophistication to any get together, and they’re surprisingly easy to create! In this blog, I’ll show you how to create a beautiful tablescape in just five easy steps. This will inspire you to start dreaming and gathering stuff for your table – let’s get started!
The main goal with any tablescape is to create an atmosphere for guests to come gather around your table. A place where they can feel that they are loved and known. The tablescape is not the ulitmate goal, it is a tool to show your guests how much you care but there is no reason you can’t have a blast creating a beautiful space for your friends.
")

Step One: Pick a theme
The first step in creating a beautiful tablescape is to pick a theme. This could be anything from a Galentine’s Day dinner party to a beach-themed barbecue. Once you’ve chosen a theme, start thinking about the colors and decorations that will go with it. I wanted to host a Galentine’s Brunch with some friends but I wanted them to feel special.
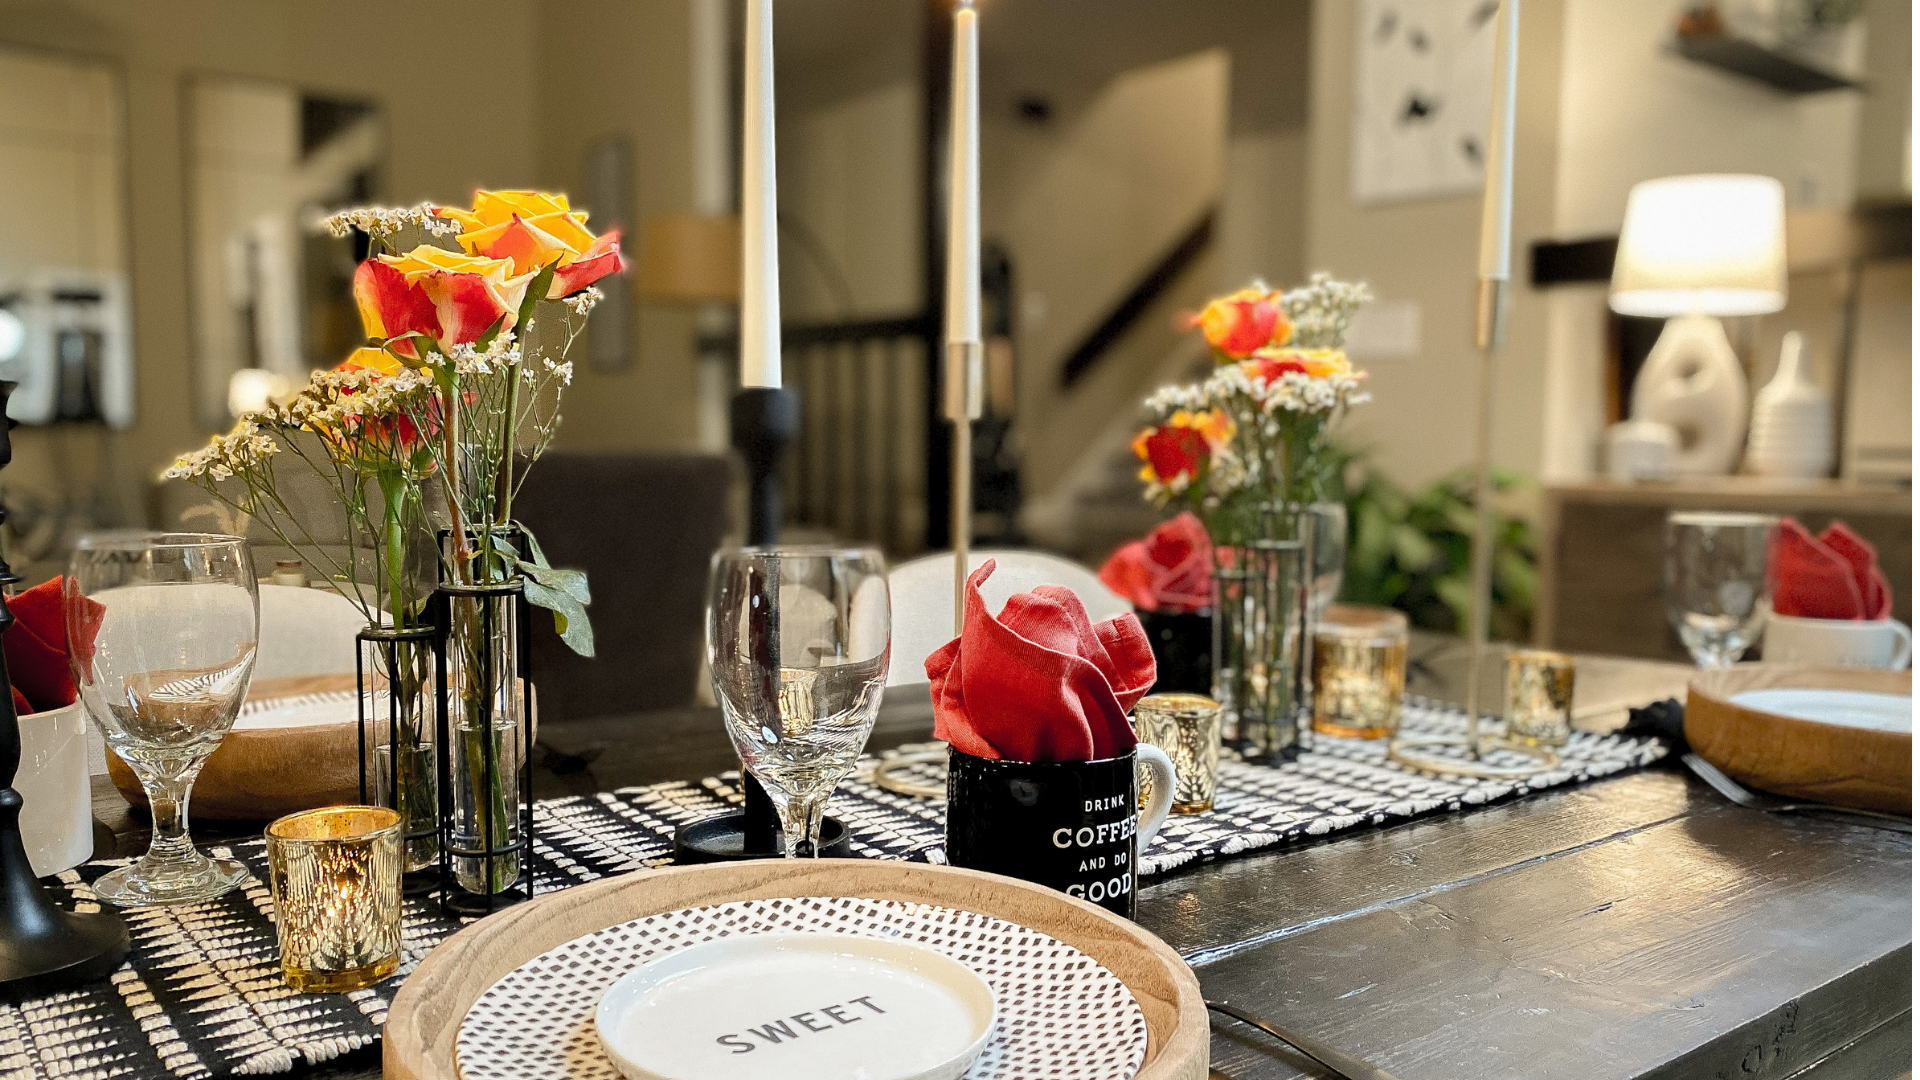
I was shopping at a local boutique shop when I found the cutest Valentine plates that are black and white with the word “Sweet” on them. I love that they don’t shout to the obvious red and pink Valentine theme. I love taking a more neutral pallet and adding a hint of color. These plates became the inspiration for my whole table. In this same shop they were selling the deep wood chargers which I also fell in love with but they were at a price I did not want to pay. Don’t be afraid to shop around for a less expensive version of something you find . I did a search online and found a very similar charger on Christmas markdown for 1/4 of the price of the ones I fell in love with! There were almost exactly the same as the ones in the shop.

Step Two: Choose your tableware
Once you’ve chosen a theme, it’s time to choose your tableware. This will include things like plates, cups, napkins, and silverware. Try to choose colors and designs that match your theme. I always look to see what I have already that I can use with the theme before going to buy.
For my Galentine’s Day table, I chose black and white plates to compliment my new wood chargers. Each brunch plate was a different pattern keeping with the black and white theme. Don’t be afraid to mix and match patterns. It makes it a little more unique and interesting to look at. When I am shopping I always try to buy things that I can use again on another tablescape or for another dinner.
I found the cutest black and white coffee mugs in the Target dollar bins! Naturally I had to have them for this tablescape. It was the perfect compliment to the black and white theme.
Step Three: Choose your linens and table runner
The next step is to choose your linens and table runner. This will help to set the tone for your tablescape and tie everything together.
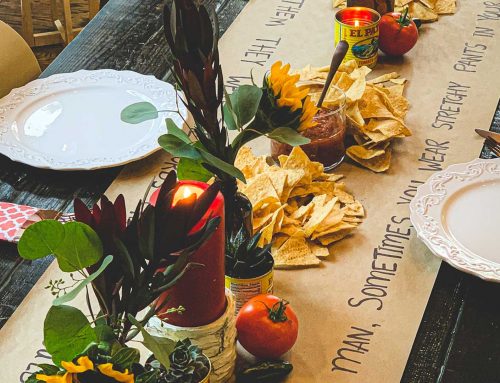
I decided to go with a modern bold table runner for my brunch that I previously owned. Not every tablescape needs a runner but I was using my large table that normally seats 10 and making it a table for 6 so I needed to add something to draw your eye to the middle. My table is dark and it needed something to break up the dark table top.
I chose red napkins that were solid red. This small amount of color to the place setting gave it the pop it needed and brought a bit of happiness to the setting.

Step Four: Design your centerpiece
Once you’ve chosen your tableware, linens, and table runner, it’s time to start decorating the center of your table. You can’t go wrong with flowers and candles.
I always think flowers are a must for most centerpieces. I love using fresh flowers but if you don’t have the time or money to buy fresh flowers, you can use artificial ones or greenery.
I found the 3 tiered vases in the dollar bin at Target too. I was not sure if they would work but I love how created a flow throughout the table and helped elongate the centerpiece. I found the beautiful 2 tone roses at my local Trader Joe’s. It was saying “Valentine’s” fun without too much red. Next I started pulling out a few varieties of candle holders in. Using different height and texture is a great way to add depth and richness to your centerpiece.

Step Five: Add finishing touches
The final step is to add any finishing touches to your tablescape. This could include things like place cards, centerpieces, or flowers in the napkin holders. I walk around to each table setting and make sure that things are lined up properly, that glasses are in the same place within each setting, making sure the chargers are at the same distance from the table edge. It’s always in the small details. Take a minute to stand back and look from a distance, what catches your eye, what distracts you, what doesn’t seem to fit in and what makes the table shine?
A last look to make sure that no one has a completely blocked view from conversing with their friend across the table. Be thoughtful if you have such a large centerpiece that it creates a wall between guests. It is good to remove it once everyone sits down so they don’t feel isolated from the other guests.
Now it is time to welcome your friends into the space you created for them using these five easy steps to create a beautiful tablescape. Don’t be afraid to get creative with your tableware, linens, and centerpiece – the options are endless! Creating this space for friends to gather is a gift you can share. Be confident in what you have done and enjoy connecting with those at your table. They will look back on the lovely table you created and remember where they had fun, laughed together and made memories with those they value most.
")